Instafill.ai has two levels of membership: organization and workspace. Adding someone is a single invite, but removing them is not – removing a member from the organization does not remove them from the workspace, and their access to your forms continues.
This guide covers both levels: where each setting lives, how to send an invite, what the new member can see, and how to remove access completely.
Organization and workspace
The settings sidebar is split into two sections.
Organization holds account-wide settings:
- General – organization name, organization ID, AI provider, storage region
- Authentication security – 2FA enforcement
- Members – organization membership
- Workspaces – create and manage workspaces
- Billing – subscription, opens the Stripe portal
- Notifications – email alerts when a filled PDF is ready
Workspace holds the settings and data for one working environment:
- General – name, language, date and time format, decimal digits, DPI
- Manage API Keys
- Data cleanup – file retention
- Members – workspace membership
Everything you create belongs to a workspace, not to the organization: form templates, filled sessions, source documents, profiles, folders, and API keys. Queries are filtered by workspace, so workspace data remains separated.
Organization members can see all workspaces in their organization. If an organization member selects a workspace they have not joined before, Instafill.ai automatically adds them to that workspace. Workspace-only members remain limited to the workspaces they already belong to.
Before you invite
The person you’re inviting needs an Instafill.ai account first. Ask them to register at https://instafill.ai/ and then invite them using the same address they registered with.
Sending the invite
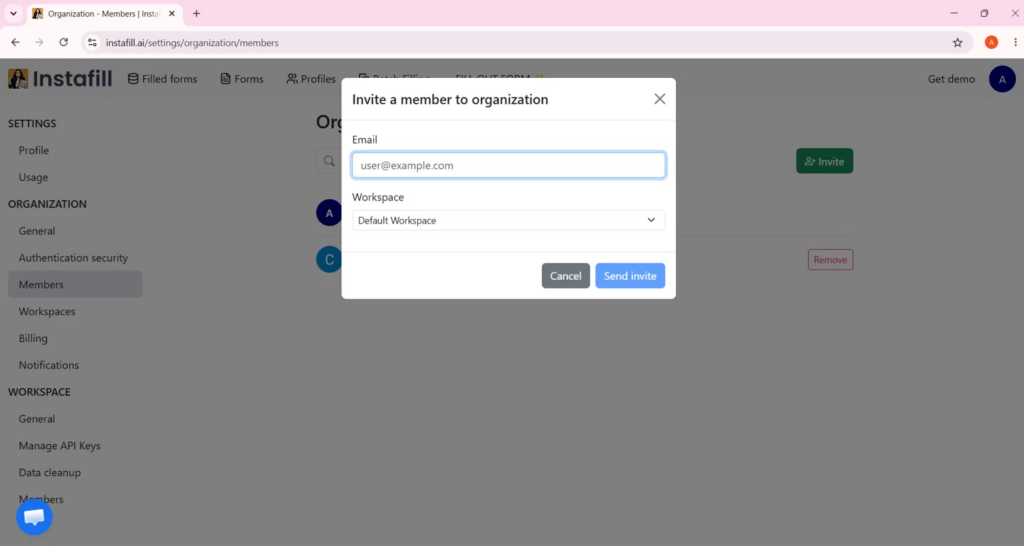
All invitations are organization-level invitations. You can send one from Settings → Organization → Members → Invite, or from Settings → Workspace → Members → Invite.
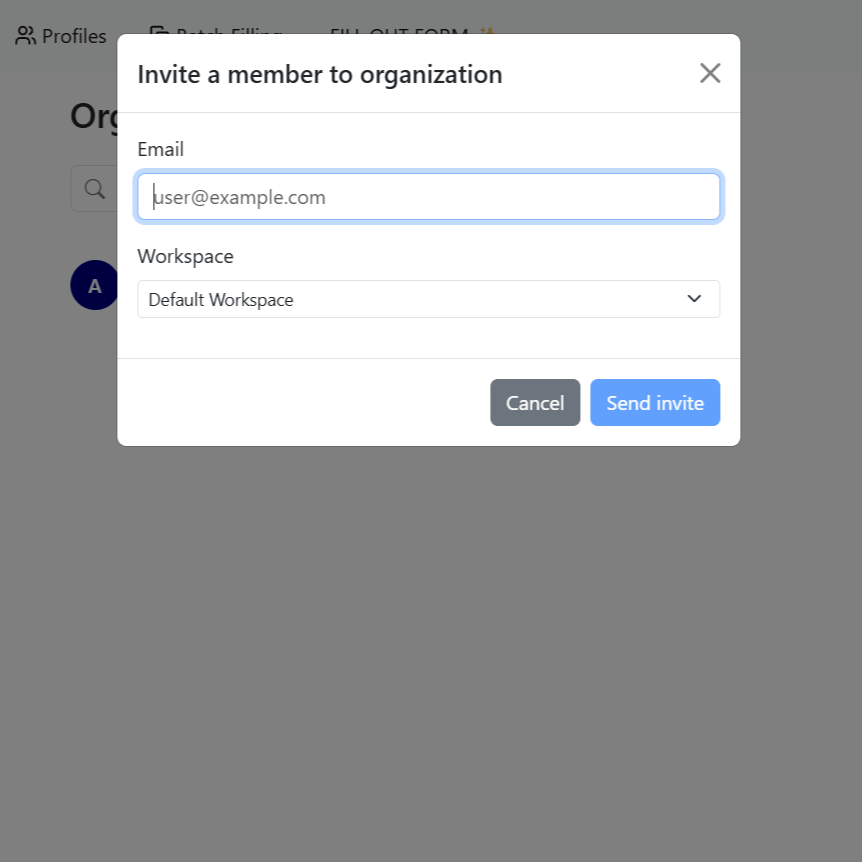
If you open the invite from Workspace → Members, the current workspace is automatically selected in the invite dialog.
You can also open https://instafill.ai/settings/organization/members directly.
The dialog has two fields:
- Email – the address they used to register.
- Workspace – the workspace they’ll initially join. With a single workspace, this is Default Workspace and is already selected. With several, choose the one holding the forms you want to share.
Click Send invite.
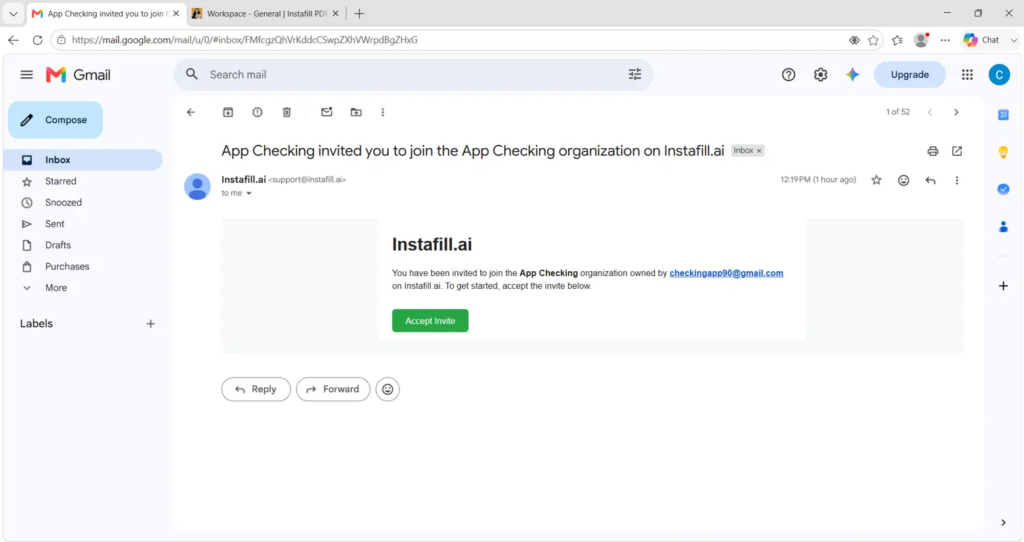
They receive an email from [email protected] with an Accept Invite button. Access is granted when they click it.
What the new member can access
One invite grants membership at both levels. After accepting, the member has:
- The full workspace – every form template, filled session, batch filling, custom profile, etc. They can open and fill any form.
- Organization settings – General, Authentication security, Members, Workspaces, Billing, and Notifications.
- Other organization workspaces – organization members can see every workspace in the organization and can join another workspace simply by selecting it.
An invited member is not a limited or read-only user. They can see billing and manage other members. Plan for this before inviting.
Both lists are visible separately: Organization → Members shows organization membership visible separately: Organization → Members shows organization membership
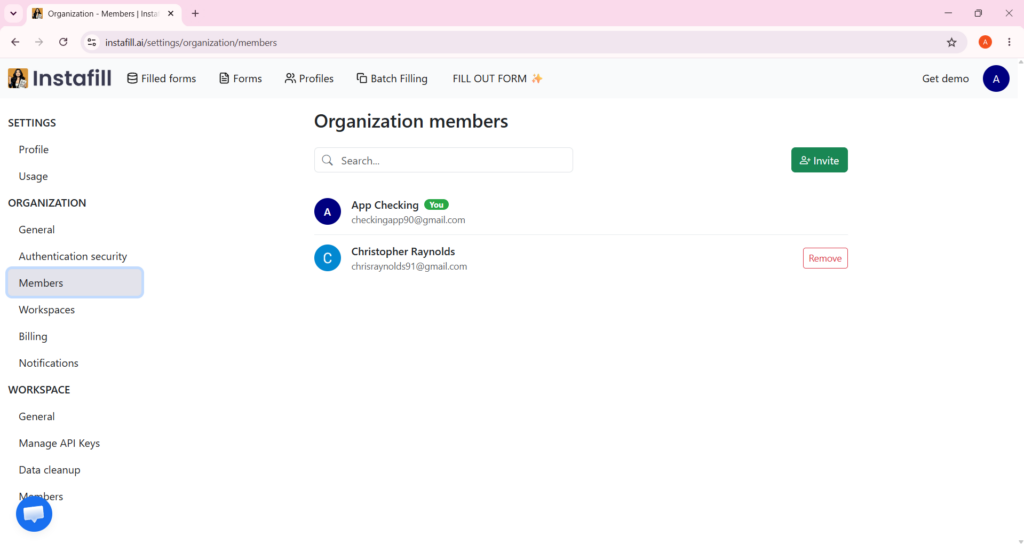
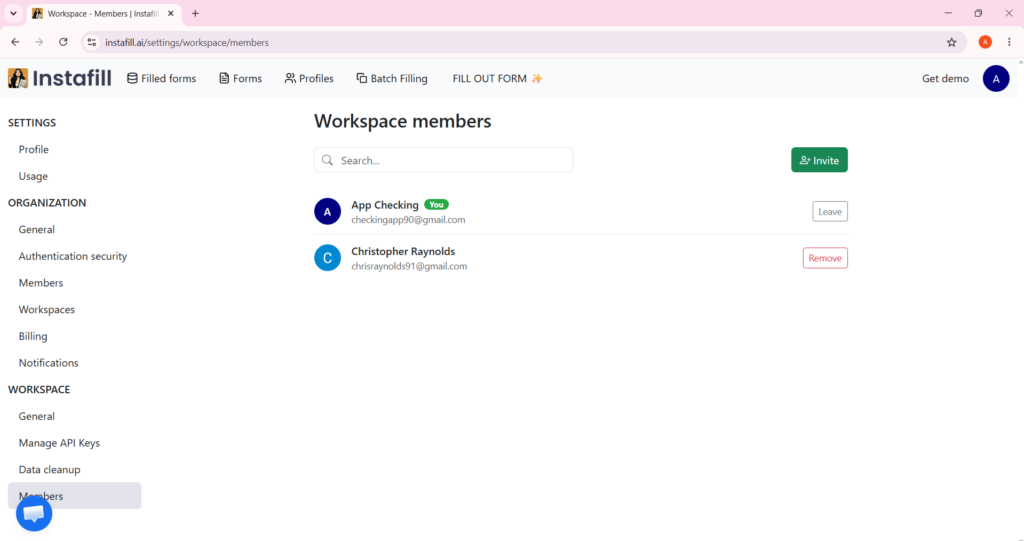
Workspace → Members shows workspace membership. The same person normally in both.
Removing a member
Removal works at each level independently.
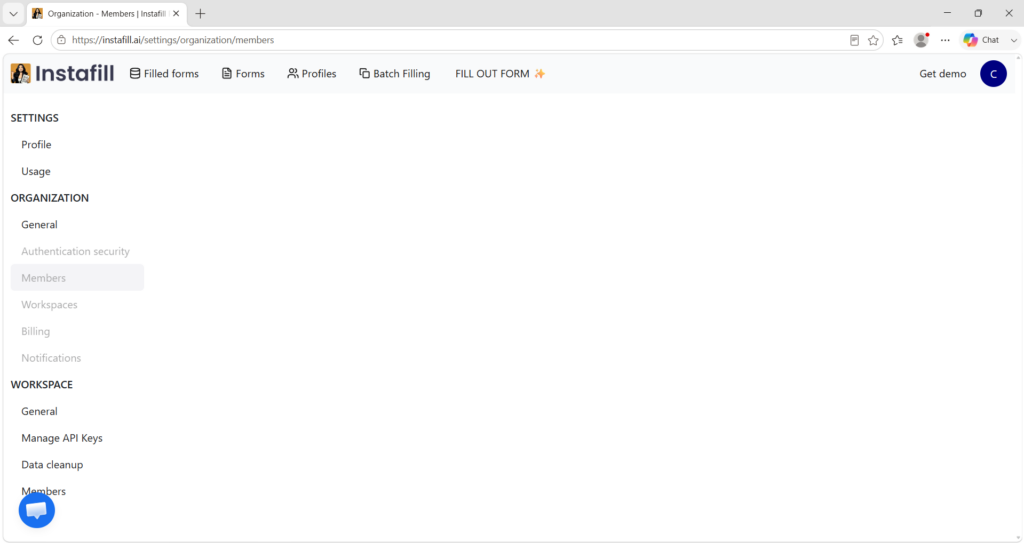
Organization → Members → Remove removes organization access only. The organization section of their sidebar becomes unavailable: Authentication security, Members, Workspaces, Billing, Notifications. Everything workspace-level continues to work: they still open the workspaces they belong to and see their forms and filled sessions.
Workspace → Members → Remove removes the member from that workspace. For a workspace-only member, this removes access to its data immediately.
For an organization member, removing them from a workspace does not permanently prevent access to it. Organization members can see all organization workspaces and will be added back to a workspace if they select it again.
| Goal | Action |
|---|---|
| Keep someone filling forms, remove organization access | Remove from the organization only |
| Remove a workspace-only member from a project | Remove from that workspace |
| Prevent an organization member from accessing one specific workspace while keeping organization membership | Not currently supported – organization members can join any organization workspace |
| Offboard someone leaving the company | Remove from the organization and from every workspace |
Removing a departing employee from the organization alone leaves their access to your forms and filled documents fully intact in any workspace they still belong to.
Cost
Both self-service plans include unlimited users, so adding team members does not change your bill.
Fill quota is shared. All members draw from the same organization-level pool aggregated across workspaces, so a five-person team consumes quota five times faster. Settings → Usage shows fills used, fills remaining, and the next reset date.
Related settings
Require 2FA — Organization → Authentication security. Applies across all workspaces at once, with no per-workspace setup. Members without 2FA cannot access organization resources until they enable it; outside collaborators without it are removed.
Notify the team on completed fills — Organization → Notifications. Every member with access to the form receives an email with the processing time, number of fields processed, and a link to the finished PDF.
Multiple workspaces — organization members can see all workspaces in their organization. Switch using the workspace selector in the top right; selecting a workspace automatically adds the member to it if needed, and the view changes to show that workspace’s data. Workspace-only members see only the workspaces they belong to.
If a new member sees an empty dashboard
Check the workspace selector in their top-right corner and select the workspace holding your templates. Organization members can see all organization workspaces and are automatically added when they select one.
For anything else, contact [email protected].